Our computer generated calculator is programmed to give a price estimate based on your location, vehicle, service type and service provider requirements.
Use our quote system and you can request a quote through 3Dom Wraps and we will distribute your request to the best service providers in your local area.
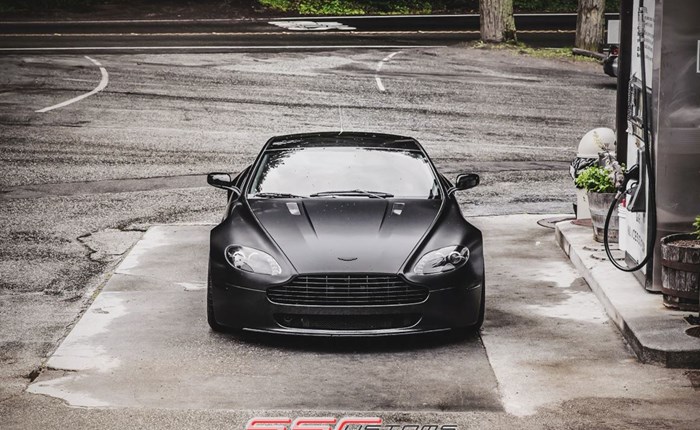
Window tinting looks awesome if it is done correctly, so take a few minutes to read through our guide below to make sure you do it correctly and to the best possible level of quality. We have broken it down into sections to outline the detail clearly and so you can pick and choose which bits are relevant for you.
One of the first things you do absolutely have to consider is the law regarding window tinting. As a rough rule the front windscreen and windows must let 70% of the light through, whereas the rear windows can be tinted as dark as you like. It is best to look through the gov.uk website or follow our window tinting law tips for the full list of rules.
How to Tint
Preparation
Window tinting is actually pretty straight forward once you have all of the relevant equipment, to tint your windows you will need;
Pre cut window tint kit
Squeegee
Spray Bottle
Tint solution – water with 2 or 3 drops of washing up liquid
Cutting Knife
Bucket
When you do any work to your car it is only going to look as good as the time you spend on it. So if you don’t prepare and try to just slap the window tint vinyl straight on, rather than cleaning first, it is going to look a bit rubbish. It is best to install window tint when the car is away from the road, in a well-lit garage if possible but if that isn’t an option just make sure it is a clear, dry day. Clean the inside of the car well to make sure any dust and dirt isn’t floating around in the air when you apply the tinting vinyl. If you need help with interior detailing and cleaning make sure you check out our previous #AttentionToDetail blog. Make sure any stickers or marks on the inside and outside of the windows you are tinting are removed. To remove the sticky residue left from the sticker use a scourer. The rubber seals around the window need to be cleaned as well, use a cloth and the tinting solution for the trim.
Cleaning
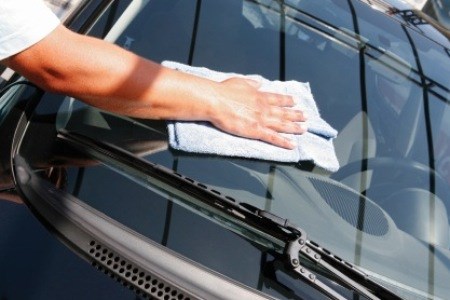
The windows themselves need to be cleaned using a squeegee, a microfibre cloth and tint solution. Soak the cloth and thoroughly clean the windows, make sure any dirt is removed. Keep cleaning the window until the cloth moves freely across the surface without catching any particles. It is best to lower the window by 5 – 10cm before cleaning it again, making sure all of the edges are clean too. Use the squeegee to remove any excess solution on the window. Make sure both sides of the window is cleaned so that any dirt can’t transfer and drip down when it is shut again.
Lay the film against the outside of the window to check the sizing and that it fully covers the glass before you remove any of the backing and attempt to install it.
Next you need to clean the inside of the window again with the tint solution but this time leave the window wet.
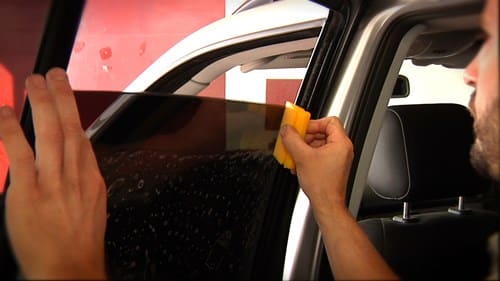
The window needs to now be wound down by around 2cm. Start at the top of the tinting film and peel away the backing film, only peel it as far as half way down before spraying the now exposed adhesive side with tint solution.
Position the top, peeled section, against the window. Leave a gap of 3mm to the top edge of the window so the tint doesn’t catch and peel away again when the window is closed.
Start by only laying the top 3 or 4cm worth of tinting film against the window and use the squeegee to squeeze any air bubbles out of the film so it lays flat and smoothly against the glass. Squeegee in a downward motion.
Allow the top section to dry slightly before the rest of the tint is applied to make sure it is properly fixed in place. When it has dried remove the rest of the backing sheet and fix the remaining tint film against the window.
It is a good idea to tuck the bottom edge of the film down into the bottom of the window. Pull the rubber trim away from the window before squeegeeing the bottom edge flat to complete the installation on that window.
The rear windscreen is slightly harder to install purely because it is larger and the curvature is much harder to smooth the window tint against. Some installers recommend heat shrinking the film before you install it so it is an idea to check this first and continue as you see fit. The installation process is the same though, work from the top down.
Pros
It offers privacy from the outside world and offers the ‘classy celebrity’ image of an executive car.
Added security as the interior of the car cannot be seen.
Window tint can reflect some of the sun’s rays and can keep the interior of the car cooler.
Cons
Because the car looks more secure it can attract the attention of potential thieves as it can come across as hiding something valuable from view.
The law is very strict and it is a risk to install tinting vinyl before having it checked against the guidelines of the law.
Window tinting is a part of the world of Car Wrapping, something we love! For more details on vinyl wrapping and the car wrap industry as a whole, you can take a look at our Gallery, Car Wrapping Blog and Vinyl Wrapping services.


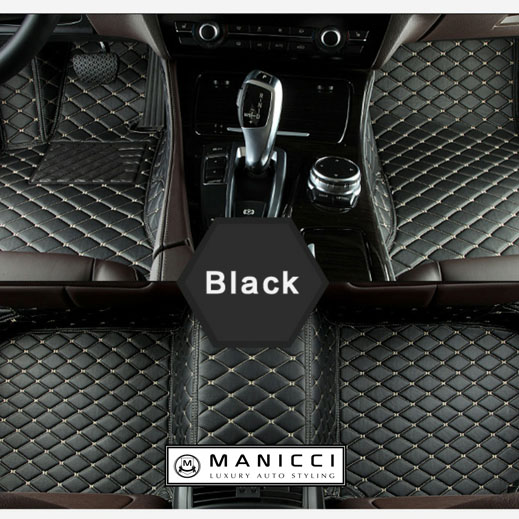 Luxury Fitted Car Mats £229.99
 Audi A3 Xpel PPF Kits £50.00 – £135.00
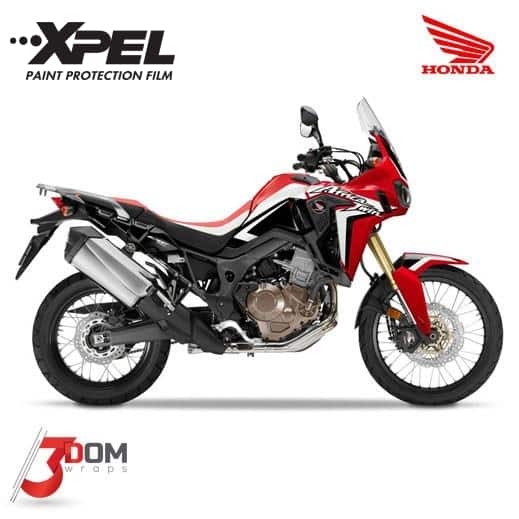 Honda CRF 1000L Africa Twin Xpel Paint Protection £50.00 – £105.00
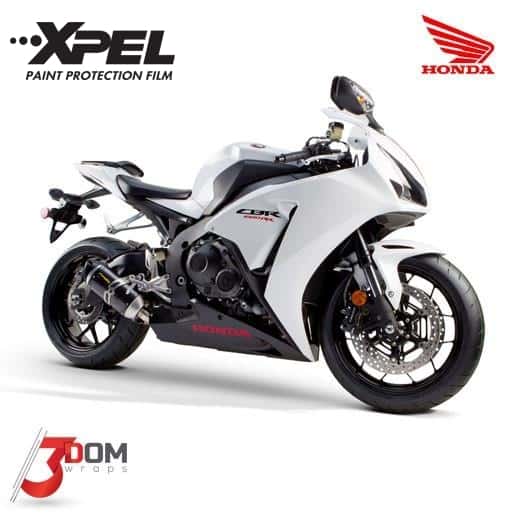 Honda CBR 1000 RR Fireblade 2015 Xpel PPF Film £50.00 – £105.00
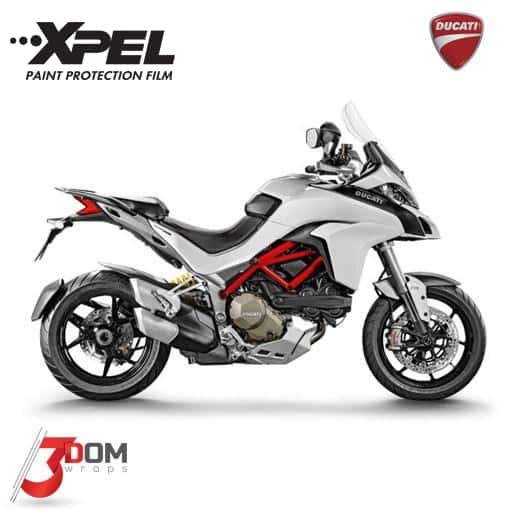 Ducati Multistrada 1200 2015 Xpel Paint Protection Film Kit £50.00 – £105.00


 Uptime @ Host Crucial

