


0 items - £0.00
No products in the basket.
Our computer generated calculator is programmed to give a price estimate based on your location, vehicle, service type and service provider requirements.


Use our quote system and you can request a quote through 3Dom Wraps and we will distribute your request to the best service providers in your local area.


(Image credit to: Autogeek)
Here are a few products we would recommend when it comes to claying your car.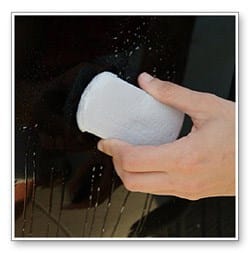
(Image credit to: Autogeek)
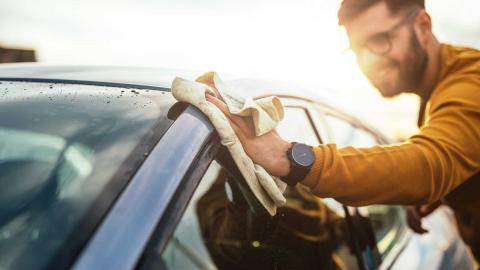
Once the clay bar slides freely over the car panel you need to remove the lubricant residue with a microfibre cloth. Once you have dried the surface over run your fingers over it and if it feels smooth the work is done, if not then reclay it.
Move onto the next area of the car and repeat the two steps mentioned above until the whole car is spotless, smooth and clear of all dirt. If you have clayed your car you need to wax it afterwards to seal the paintwork and any slight holes left from the removed dirt.
Clay bar can be used on pretty much any surface of the car, so you can clay any chrome or glass too.
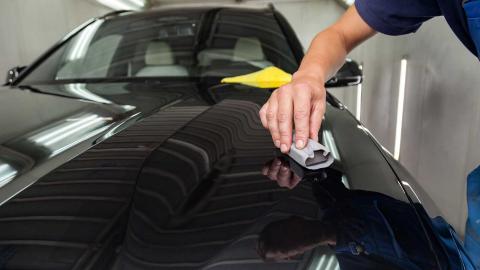
To wax your car you need to make sure that the car is dry and you have clayed it first. Once you have done this you can choose your wax and get a foam pad to apply it with.
You only need a small amount of wax, which should be applied in overlapping circular wipes over the car in roughly half a metre square sections. You want to apply a thin layer of wax, too much and it will gunk up and leave clumps.
Apply slight pressure on the pad, enough that the wax comes off and bonds with the surface of the paintwork. Thinner layers are better as they are smoother and it looks far better once polished as it the thin film alloys the paint to shine through.

(Image credit to: Complex)
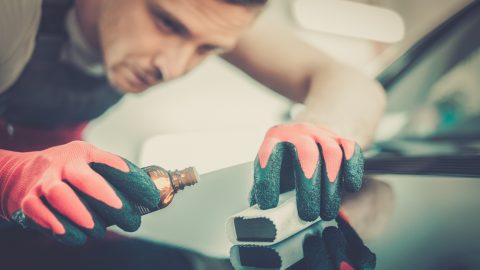
When it comes to polishing you can either use an orbital buffer or hand polish the car, it is one of the finishing steps when detailing a car as it really makes the paintwork shine and sparkle. If you choose to use an orbital buffer make sure you don’t apply too much pressure as you don’t want to cause any damage to the cars paintwork.
The other is to get some car paint polish and work that into the paintwork instead. The difference between the two is that the polish needs a bit more pressure applied to it to cause more friction. This in turn breaks down any abrasive substances on the paint and adds shine to it.
If you polish by hand you want to get a microfibre cloth, folded to fit your hand, applying a small amount of polish to it before you start. You need no more than a 50 pence piece sized amount of polish on the cloth.

(Image credit to: autopia carcare)
The technique is much the same as waxing your car, small overlapping circular motions in half a metre square sections. Keep rubbing the polish into this area until it turns clear, if you can still see any cloudiness or marks it needs to be worked into the paintwork further.
If you are new to car detailing and polishing we would recommend that you start by hand polishing and as you gain confidence you can think about machine polishing.
If you do want to use an orbital machine polisher start with a medium aggressive polish and pad. Apply the polish in the same way and work it into the panel surface until it goes clear again. If the dirt isn’t coming off try applying more pressure or increasing the speed of the orbital polisher. You want to gradually move through the grades of pads, choosing less aggressive pads to leave a smooth finish at the end of the detailing job.
The wheels and brakes may seem like a small bit of detailing but they actually make one of the biggest differences. If the rest of the paintwork is spotless but the wheels are dirty then the whole car looks much duller. If the wheels look bright and clean too then the whole car is much more of a head turner, plus, if you have gone to all the effort detailing the paintwork you may as well go the extra mile and finish the last little bit!
The wheels need to be inspected before they are detailed. If they have deep scrapes and scratches in the alloy it is worth getting them reconditioned first. There is not a huge amount of point detailing already damaged wheels as they aren’t going to look as smart as you would like due to the marks on them.
If the surface of the alloy is smooth and as very few deep scratches in it then you can begin to detail them. Detailing wheels is one of the most straight forward parts of vehicle detailing, you simply need a bit of older clay bar and lubricant again. Repeat the same steps mentioned in the Claying section of this blog and your wheels will look instantly brighter and cleaner.
It is worth protecting the alloy with wax again, just so any slight holes left by the dirt in the wheels doesn’t get further contaminated.

(Image credit to: Detailing World)
The brakes don’t have to be done as they are harder to reach, or you may even need to remove the wheel in order to get to the brakes properly.
Use brake cleaner to wipe the brake discs over to remove any brake dust, and while preparing the car ready to be detailed, make sure you wash the calliper well. You can hand polish it if you wish but a wash should be enough for the brakes.
Some detailing sites will tell you not to use tyre dressing as it can flick onto the wheel arches, leaving slight blemishes but others will tell you it is a good idea to dress your tyres. Dirty tyres make an otherwise clean car look dull, but by applying just a little bit of tyre dressing to them to restore them back to that glossy showroom black finish.

(Image credit to: canadiantire)
Glass detailing not only makes your car look better, but it helps improve your driving vision too, so it is a win-win when it comes to this stage of detailing.
Make sure that the car is out of the sun again and all of the glass surfaces are dry. If it is too hot the cleaner solution can pretty much evaporate before it hits the glass or can leave dry marks.
As with many of the steps we have gone through, for glass detailing you need a microfibre cloth and one of the recommended glass cleaners from our detailing preparation blog.
Spray the cleaning fluid onto the window and quickly scrub in a circular motion using the microfibre cloth. Once the glass is clean get a second, dry cloth to buff the window with to remove any last water spots and streaks.

(Image credit to: auto-chemicals)
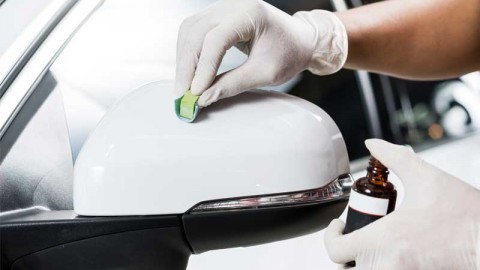
Glass cleaner can also be used on the headlights, tail lights and mirrors. Just make sure that when you detail this elements of your car you properly dry them as any remaining residue can mist up inside a headlight or behind a mirror, ruining all your hard work.
Any left over polish you have can also be used on the headlights to buff them up and clear the lens.

(Image credit to: Amazon)
Every car will start to become rusty if you neglect to look after it. On the other hand, the...
This is the third of our #AttentionToDetail blogs and now that we have covered Detailing Preparation and Exterior Detailing,...
Some things are so much a part of our everyday existence that we rarely, if ever, stop and think...
Many car owners are well-versed in waxing and washing their cars to have a neat appearance. What most find...
Aside from a house, a car is another expensive investment most people save up for. The benefits of a...
Aside from making your vehicle looks shiny and sleek, the paint of your car has many responsibilities to fill...
Most car dealers will offer add ons alongside the purchase of your car as a way of sweetening the...
#AttentionToDetail is our new blog series looking at all aspects of Car Detailing. To start we will look at...
 Luxury Fitted Car Mats £229.99
 Audi A3 Xpel PPF Kits £50.00 – £135.00
 Honda CRF 1000L Africa Twin Xpel Paint Protection £50.00 – £105.00
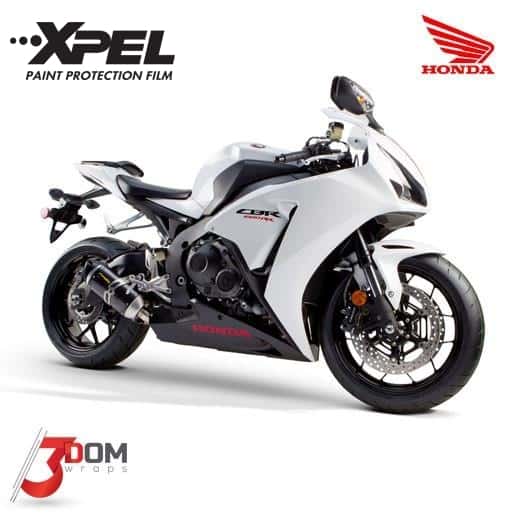 Honda CBR 1000 RR Fireblade 2015 Xpel PPF Film £50.00 – £105.00
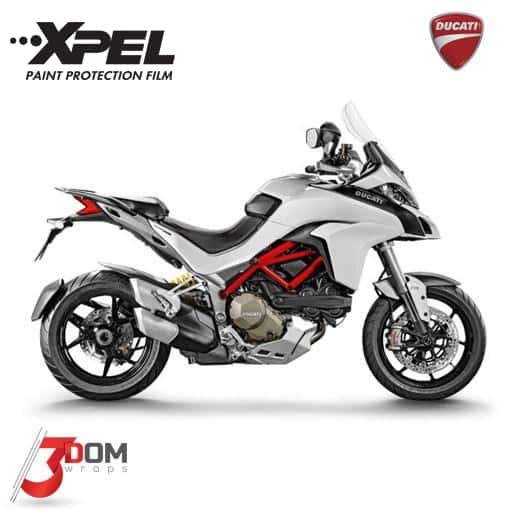 Ducati Multistrada 1200 2015 Xpel Paint Protection Film Kit £50.00 – £105.00


Development Office, Unit 211 East London Works, London, E1 1DU

© 2017 3Dom Wraps | Terms & Conditions | Privacy
Created with love @  Uptime @ Host Crucial
