


0 items - £0.00
No products in the basket.
Our computer generated calculator is programmed to give a price estimate based on your location, vehicle, service type and service provider requirements.


Use our quote system and you can request a quote through 3Dom Wraps and we will distribute your request to the best service providers in your local area.


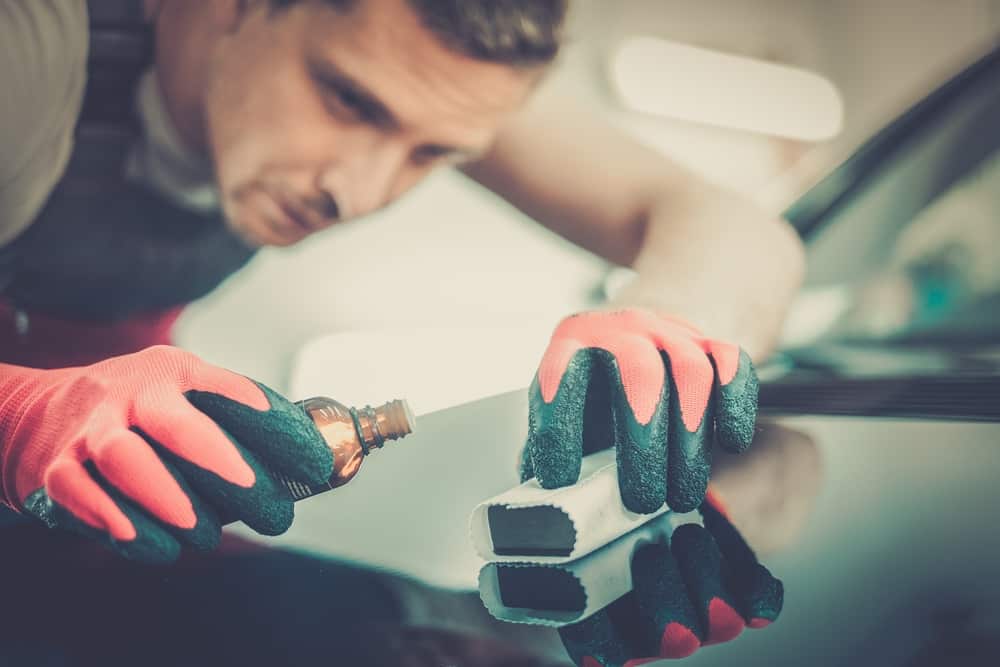
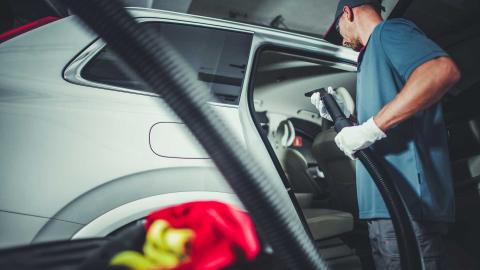
#AttentionToDetail is our new blog series looking at all aspects of Car Detailing. To start we will look at the tools required and vehicle preparation.
The list of products available when it comes to car detailing is endless, a lot of it comes down to what you prefer to use and what finish quality you are after. We outlined 12 main steps to vehicle detailing on services page. We have listed just a few products we would recommend to get you started, simply click the products in each category to have a look, using all of these you will be able to fully detail your car.
Detailing cars is a much larger and harder field than people first think, so it is best to start small, build your confidence, and then think about branching out to try detailing other areas of your vehicle.

There are 3 main ways to wash a car; hand wash, pressure wash or go to an automatic machine car wash. Out of these 3 we would recommend that you hand wash your car. Pressure washing comes with the risk of doing significant damage to your car, it can damage the paint and if the pressure is set too high it can even put dings or slight dents into lighter weight panels. Any rubber seals can also perish or be lifted as the water is forced under into any slight gaps, bear this in mind with car wraps. When it comes to an automatic car wash, although it saves a lot of time, there is a slight risk of damage and because it is a quick job the quality of the clean is much lower. The ‘two bucket wash method’ is essential if you want to detail your car. If you want to get into vehicle detailing there is no point washing your car with the same dirty water over and over. If there are any small particles of grit or dirt in the water it will slowly but surely scratch the paintwork of the car. The two bucket wash method gives you one bucket for rinsing and one for washing. It is also a good idea to get a grit guard, it is an effective way to make sure any dirt that does end up in the bucket falls to the bottom and can’t get caught up in the sponge again.

(Image credit to: Detailing Spot)
You are also going to need a microfibre cloth to dry the car after you have washed it.
We can break the washing process down into 3 key steps; rinsing, washing and drying.
Step 1 – Rinsing
Before you actually wash and detail the car with car soap, you want to rinse the whole vehicle thoroughly using a garden hose, not the rinse bucket. This is to remove any obvious dirt from panel surfaces and it is also important that you spend some time on the wheels and wheel wells. Dirt can collect up in the wells without you ever spotting it, and it can not only lead to spots of rust in the long term if it is damp, but it can also flick out over the car-ruining all your hard work!
You want to spend as much time rinsing the wheels, alloys and tyres as you do with the rest of the body. Wash away as much dust, dirt, oil and and tar as possible.

Step 2 – Washing
Once the vehicle has been rinsed you will need your wash mitt or sponge. This is where the two bucket system comes into play-you want to wash each panel and then use the rinse bucket to wash the mitt/sponge off before washing any more of the car.
Once you have soaked the sponge in the wash bucket start washing the car from the top and slowly work your way down:
Roof, Windows, Bonnet and Boot, Doors and Side Panels, Front and Rear, Wheels, Tyres and finally, Wheel wells. Always be very careful with edges if you have your car wrapped.
The reason for doing this is to minimise the possibility of any dirt sticking in the sponge and as there is likely going to be less dirt at the top of the car, the sponge stays cleaner for longer. The second reason for doing this is because if you started from the bottom when you finally did get to the top, all of the dirt would run down over the recently cleaned bottom half of the car. It’s the basics of car detailing. Wash every surface thoroughly, not applying too much pressure as any fine particles of dirt left won’t be washed off, they will instead be ground into the paintwork.

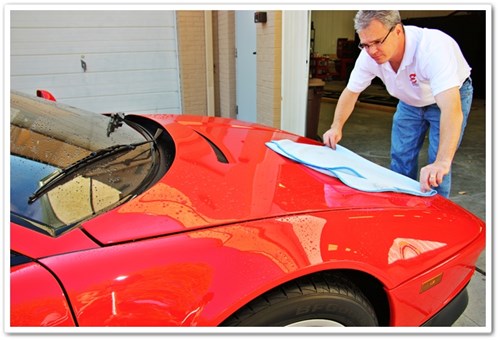
Step 3 – Drying
This is when you need to get hold of your microfibre cloth. When you dry the car you want to work in the same way as you did when washing it, start from the top and work your way down. You are only trying to remove the water so you don’t need to apply any pressure on the cloth.
Even when it comes to simply drying the surfaces of the car, there are two main methods used by detailers; ‘patting’ and ‘pulling’. They both are pretty self explanatory, with patting you want to fold the cloth into a square and lightly pat the panels to remove any water and stop it from leaving water marks as it dries. The other technique, pulling, requires you to open up the cloth and simply lay it flat on the surface, before holding the corners to pull it off smoothly. The weight of the cloth alone is enough to remove the water, you don’t need to apply any extra pressure.
We have included a few extra tips for you when it comes to detailing your car, and how best to prepare it.
By following each of the steps we have mentioned throughout this blog you will be in the perfect position to detail your car. Check out our blogs on interior and exterior detailing to really make your car sparkle. You can find out more and get a quote from us for the following car detailing services: Waxing & conditioning Detailing Maintenance Deep clean detailing Car detailing paint correction (Image credit for Steps 1 to 3 go to: WikiHow and Detailing Image)

Most accidents happen because of the negligence of one party or another. When this happens, the negligent motorist owes...
Auto detailing describes the process of preparing your vehicle for its best possible condition. It mainly involves cleaning the...
Breathing new life into an old car is much more cost-effective than buying a new one. With some sensible...
If you take care of your car, it’ll take care of you. That’s why regular detailing is essential for...
Some things are so much a part of our everyday existence that we rarely, if ever, stop and think...
You’ve just had your car painted and it’s looking great. Everything’s shiny, new, and you’re immensely proud of...
Car owners today are keen on upgrading and enhancing their vehicles. Among the many enhancements that could be made,...
Every car will start to become rusty if you neglect to look after it. On the other hand, the...
 Luxury Fitted Car Mats £229.99
 Audi A3 Xpel PPF Kits £50.00 – £135.00
 Honda CRF 1000L Africa Twin Xpel Paint Protection £50.00 – £105.00
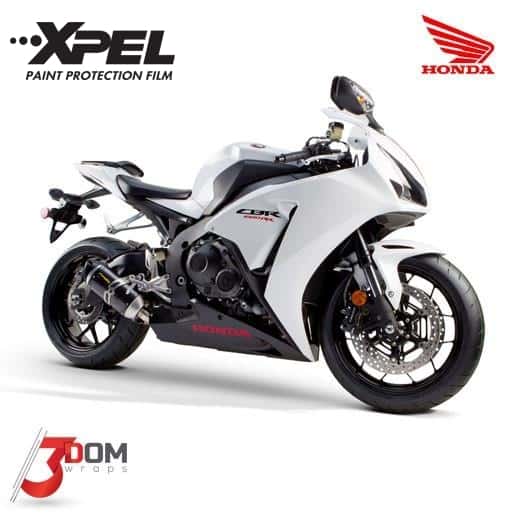 Honda CBR 1000 RR Fireblade 2015 Xpel PPF Film £50.00 – £105.00
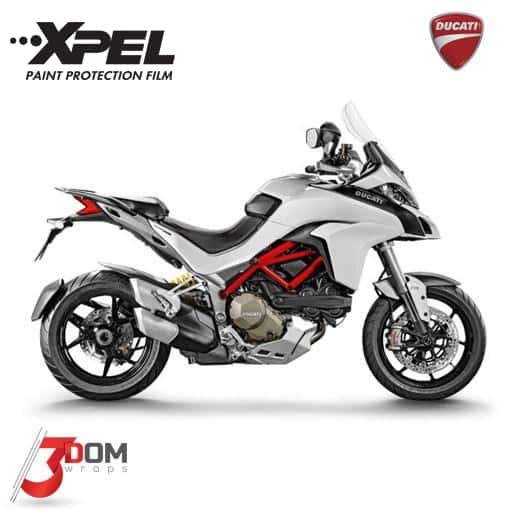 Ducati Multistrada 1200 2015 Xpel Paint Protection Film Kit £50.00 – £105.00


Development Office, Unit 211 East London Works, London, E1 1DU

© 2017 3Dom Wraps | Terms & Conditions | Privacy
Created with love @  Uptime @ Host Crucial


