Our computer generated calculator is programmed to give a price estimate based on your location, vehicle, service type and service provider requirements.
Use our quote system and you can request a quote through 3Dom Wraps and we will distribute your request to the best service providers in your local area.
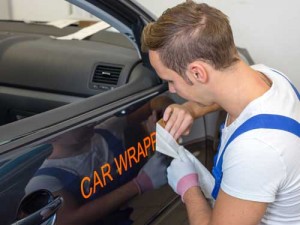
This blog is the first in a series that we are writing to give you all of the information you need when considering car wrapping, including what exactly a wrap is, failures to look out for and all of the benefits it can offer. Accredited car wrappers will always carry out the most effective car wrapping preparation before ever starting on your vehicle.
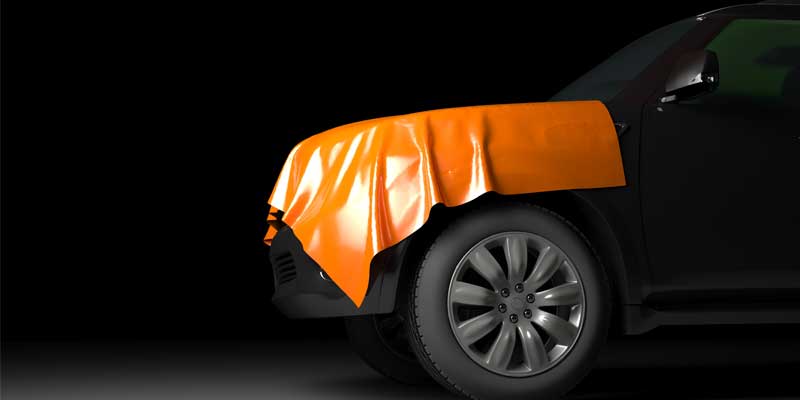
What is a car wrap?
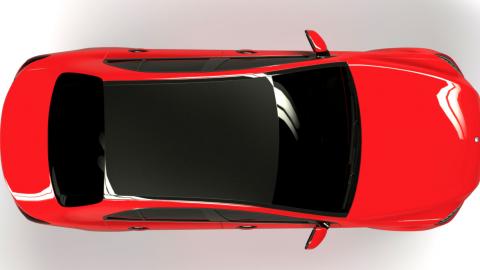
We start with what exactly a vinyl wrap is. A wrap is a clear protective or coloured vinyl film that covers an entire vehicle, it offers protection to the existing paintwork or changes the colour completely. A well wrapped vehicle will last between 3 to 5 years before it needs to be redone, if the car wrapping preparation is done right in the first place.
Step 1 – Car Cleaning
Before a car can be wrapped it needs to be cleaned. The wrapper will do this for you in a dust free environment with a special car cleaning agent while the vinyl is being cut. This minimises the time between cleaning and application so no dirt will stick to the car. The cleaning agent is known as ‘slip’ and is made up from hand soap and water, some installers add rubbing alcohol to the solution to help remove any dirt that may have settled on the vehicle since it was cleaned.
Step 2 – Clothing
Car wrapping preparation is more than preparing the car, the installer should also remove any watches, jewelry or jackets before installation so as to avoid any damage to the film itself or the vehicle it is being applied to. If any clothing has any loose threads that should also be changed before beginning so as to avoid it getting caught up in the film and getting under it as it is applied to the vehicle, ruining the final product.
Step 3 – Car Vinyl Preparation
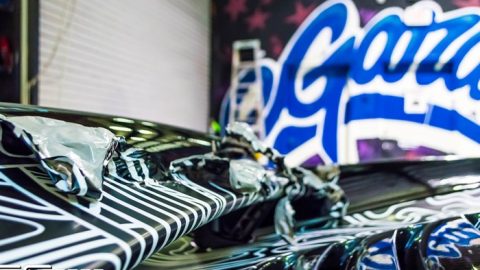
The vinyl wrap itself also needs to be prepared before installation by having it cut and divided up into groups to make the overall process straight forward, for example, all of the bumper elements are kept together, the bonnet, the side panels and so on. When you are ready to install the vinyl it is always a good idea to get a plan ready in your mind, which area of the car you are going to start on and the order in which you are going to apply the rest. For signwriting project, a design of the vehicle is essential prior to application of any graphics, just like we have done for a recent project for EGS Scaffolding Essex.Use tape, masking tape is probably best, to hold the vinyl in place before you start to check every panel is fully covered and you haven’t missed anything out. You don’t want to peel away the backing paper only to find it is in the wrong place as once the backing is off it is pretty difficult to go back from that point.
Top 12 Tips to a successful wrap through car wrapping preparation
(credit to allprint.co.uk) 1. Make sure you have images of the vehicle prior to planning the design. 2. Determine where all the joins will fall. Use the natural lines of the vehicle, whether horizontal or vertical. Use door panels/weld lines to cover overlaps. 3. Thoroughly wash the vehicle down with soap and water and allow 24 hours to dry, paying extra attention to door seals and wheel arches. 4. Degrease the vehicle. MACtac recommend isopropyl alcohol. Alternatively use a fast drying panel wipe with silicone killer paying special attention to all the recesses. This is an essential part of car wrapping preparation and could void warranties if not carried out correctly. 5. For solvent printed media allow a minimum of 48hrs to out gas. The rolls should be left standing vertically and loosely wound to help with airflow and should be turned regularly as the solvents are heavier than air. The more the vinyl can be allowed to de-gas, the less tacky the adhesive will feel and the easier the graphic will be to fit. 6. Laminate with cold rollers only. Do not use excessive tension on the rollers. 7. Use a hard MACtac squeegee or similar. Apply a strip of velvet to one edge and change the velvet regularly to avoid scratching. 8. Apply the vinyl to the flattest part of the panel first (create a base line) working from side to side, keeping the vinyl as level as possible. Stretch the vinyl without heat over the whole area and do not work the film into the more complicated areas such as recesses until later. 9. When stretching the vinyl, always pull outwards from the largest area of the vinyl you can to spread the tension. This also applies when you use extra heat to soften and stretch the vinyl, apply heat to a larger area than you need as this should help to avoid distorting the graphic. 10. When cutting through the vinyl on the bodywork or around handles it is best to stick electrical tape to the surface first. Use a new blade each and every time you cut through the vinyl. The weight of the blade should be enough without having to apply extra pressure. 11. Post heat to 95ºC or above and always use an infra red temperature gauge to be sure that you have reached this temperature. Anything less and the vinyl will retain its memory and cause the graphic to pop out of recesses and curves. This post heating must be carried out scrupulously on all areas where the wrap has been stretched to fit, especially in deep recesses. Do not overheat as you may damage the film. 12. If vehicle wrapping in colder weather do not let the vehicle leave the workshop until the following day. The vehicle and vinyl should be allowed to cool down at the same rate as the workshop. This will help to avoid thermal shock and reduce the risk of failure in the recesses.
Article IndexProsPossibilitiesAccidentsFuture investmentCustomisationImaginationConsCertified?Get a no obligation quote nowWhat to know about Car Wrapping Pros & Cons?Car Wrap Pro’sCar Wrapping...


 Luxury Fitted Car Mats £229.99
 Audi A3 Xpel PPF Kits £50.00 – £135.00
 Honda CRF 1000L Africa Twin Xpel Paint Protection £50.00 – £105.00
 Honda CBR 1000 RR Fireblade 2015 Xpel PPF Film £50.00 – £105.00
 Ducati Multistrada 1200 2015 Xpel Paint Protection Film Kit £50.00 – £105.00


 Uptime @ Host Crucial
