


0 items - £0.00
No products in the basket.
Our computer generated calculator is programmed to give a price estimate based on your location, vehicle, service type and service provider requirements.


Use our quote system and you can request a quote through 3Dom Wraps and we will distribute your request to the best service providers in your local area.


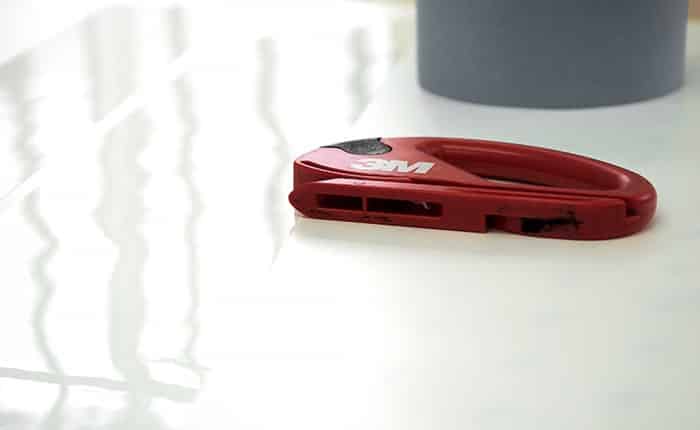
There is a lot of equipment used by the professionals to make sure the final product is of the highest possible quality. When most people carry out the work and install the kit themselves, they only buy the bare minimum required to get the kit on the bike, so they may get a spray bottle, squeegee and a microfibre cloth. A professional installer though, has much more, including a temperature probe, heat gun and much more, some of which is shown below.
Even though you may get frustrated trying to install the kit yourself, it is worth all the effort in the end! If you really struggle you can of course go to a professional installer. If you are going to do it yourself it is worth removing the seat from the bike beforehand so you can get to all of the edges of the body panels, such as the tank and the rear panel.
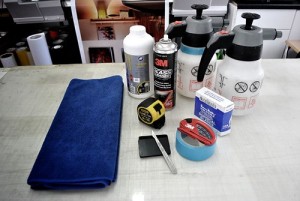
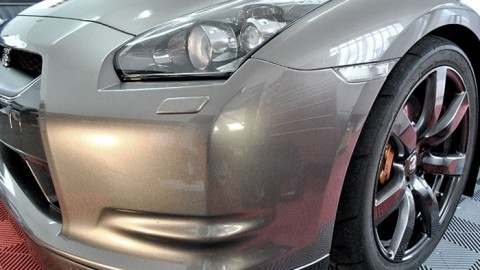
A professional will have years of experience and be certified by a quality provider such as 3M, Xpel or Suntek, so you can be assured of only the highest quality job. The kit is designed and installed in the same way as it would for any other vehicle, the only difference with a bike is that when it comes to installation it may need to be pulled into shape a bit more. The bikes panels will be mapped out using a node plotter, these coordinates are sent to a computer which allows the installer to edit the design so it better fits the bike in question. We discuss this process in more detail in our vehicle paint protection film blog post.
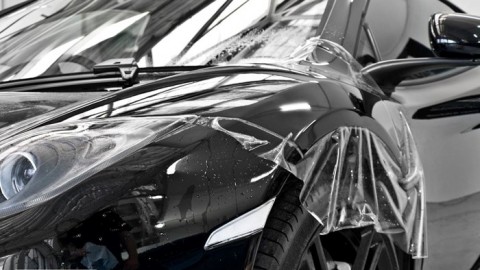
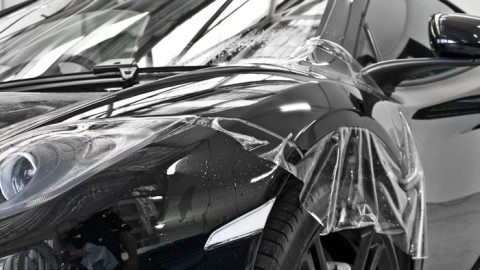
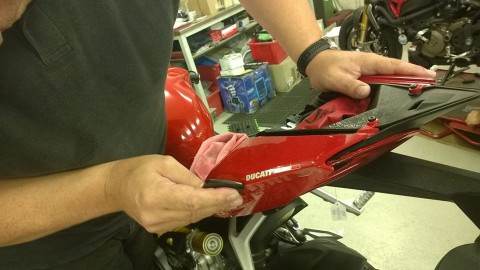
The same preparation procedure is used, a degreaser is first sprayed to remove any silicone and other dirt, leaving a smooth, clean surface to apply the paint protection film to.
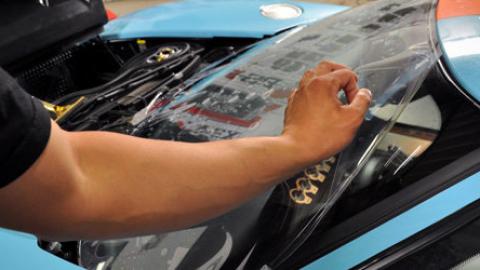
If you are applying the film yourself at home, we advise you to leave the backing sheet on, so that when you apply the film it doesn’t tangle and get stuck together at any point. It is far better to keep the backing sheet on and gradually peel it away as you install the PPF.
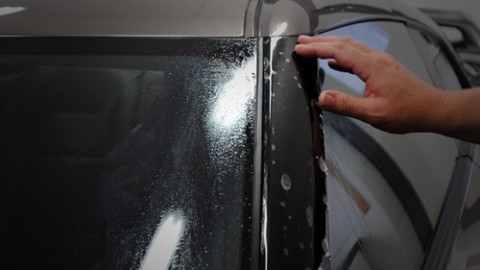
If you take it to a professional, they will remove it completely and install it as one single piece, not in a number of attempts.
The slip solution is still sprayed over the panels to begin with but as the film is installed, a professional may choose to use a heat gun to add to the malleability of the film, allowing them to move it into place more accurately and ensuring that the entire area is covered and no edges or gaps are missed.

Heating the PPF is something that should only be done by a professional, as they know the strength and limits of the film and if the film is overheated there is a risk of thinning it, rendering it useless against any debris or stones that may strike the bike when it is on the road after installation.

A professional has the heat probe to keep checking the temperature and have been trained so they know what temperature to heat it to, enabling easier installation, while maintaining the protection properties needed in the first place.
When purchasing a DIY PPF kit, it is usually accompanied with an installation help sheet, as with the paint protection kits found on our online store. This makes the whole process much easier and before you know it, you will have a fully protected bike.
If you still struggle you can take your bike to a professional installer to have the kit installed, without the worry of a mistake or a missed panel.
With this quality and popularity come some risks though. That’s not to say that paint protection films are bad,...
Paint Protection products are always a topic of debate. Today we will put 3M VentureShield, Xpel and Suntek head...
Paint Protection is one of the leading services in the automotive aftermarket industry. It is criminal to have a...
The smallest of chips or cracks in your windscreen can escalate into something much larger, causing a safety concern...
Use our guide on how to install paint protection film At 3Dom Wraps, we stock a whole range of...
Car paint protection Kits are big business in the automotive aftermarket industry, with a huge amount of quality cars, and even...
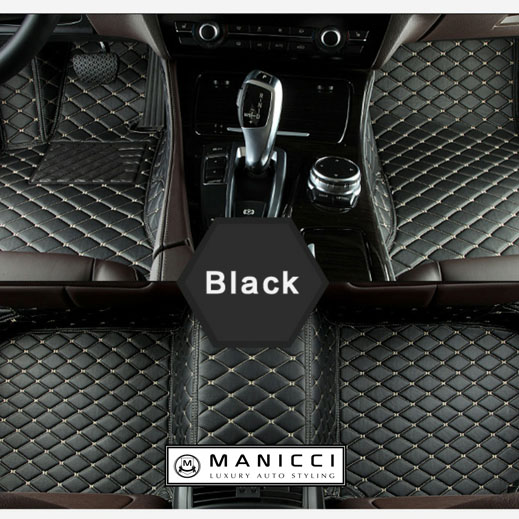 Luxury Fitted Car Mats £229.99
 Audi A3 Xpel PPF Kits £50.00 – £135.00
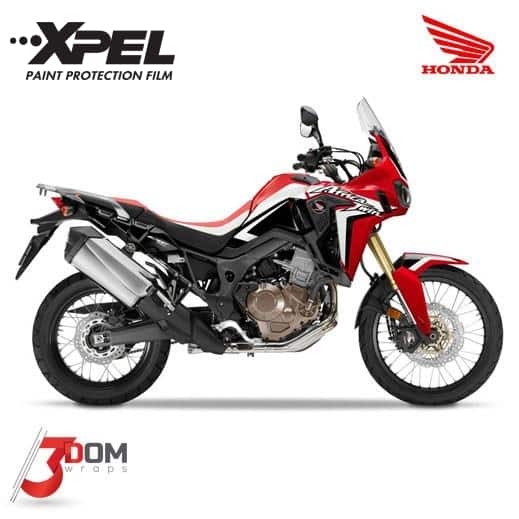 Honda CRF 1000L Africa Twin Xpel Paint Protection £50.00 – £105.00
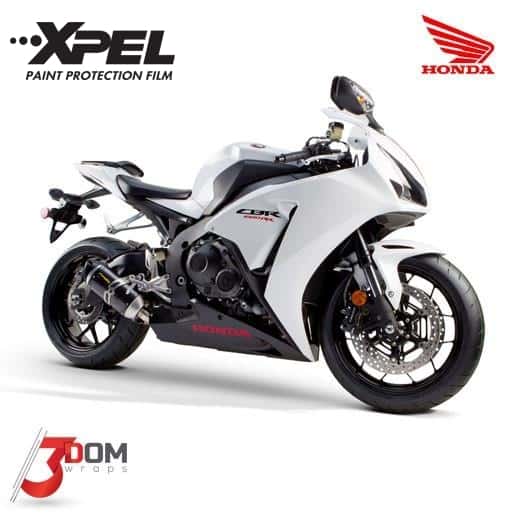 Honda CBR 1000 RR Fireblade 2015 Xpel PPF Film £50.00 – £105.00
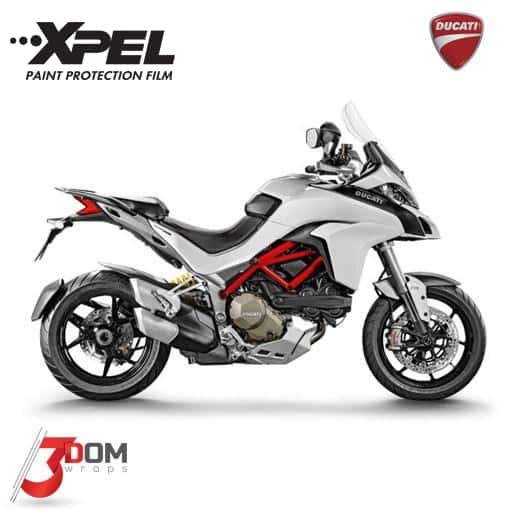 Ducati Multistrada 1200 2015 Xpel Paint Protection Film Kit £50.00 – £105.00


Development Office, Unit 211 East London Works, London, E1 1DU

© 2017 3Dom Wraps | Terms & Conditions | Privacy
Created with love @  Uptime @ Host Crucial
