


0 items - £0.00
No products in the basket.
Our computer generated calculator is programmed to give a price estimate based on your location, vehicle, service type and service provider requirements.


Use our quote system and you can request a quote through 3Dom Wraps and we will distribute your request to the best service providers in your local area.


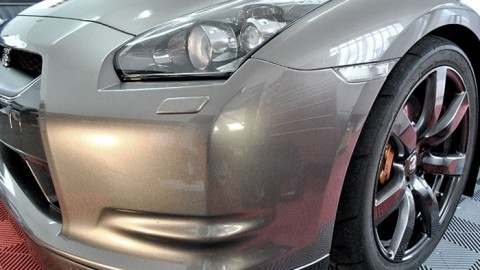
Paint Protection is one of the leading services in the automotive aftermarket industry. It is criminal to have a nice, shiny, new car with perfect paintwork, only to take one trip down the road and have any stones or debris flick up and ruin it by scratching and marking the surface. This is why we install paint protection film on cars, trucks, bikes, or any other vehicle, to prevent this and keep your car looking as fresh as the day you got it. The film itself can be installed on any panel, on any vehicle, either cut from a template or wrapping the full panel. There is a negative with the later, the installer will likely be working on the installation with a cutting black near your paint surface, this is called ‘Cutting on the car’. We discuss most of the pros and cons of paint protection film on our blog.
There are a number of steps before the installation itself that people take for granted, but it is the work of the professionals that carry out these steps that give you such a high quality paint protection kit for your car. As obvious as it may sound, these paint protection kits have to be designed and tested first, and this is done by using a node plotter to map out the panel surfaces of the car, such as the one shown below.
This is not something that you can do at home, the application process can be undertaken at home with practice and the correct know-how, but the node plotting is no simple DIY task, it should always be left to a certified, professional installer. You can find out more about certified paint protection film installers on our other blog posts.

The body panel is measured and drawn out, before being mapped with the node plotter on a digitised mat. This mat is linked to a computer that remaps the image onto a specially designed piece of software for paint protection film and vinyl cutting. From there, the installer can edit and tweak the design, after each application, until they have the perfect shape to the film that fits the lines and contours of the car, motorbike, van or any vehicle it may be for.
Once it has been perfected and adjusted correctly, it is cut, ready for installation.

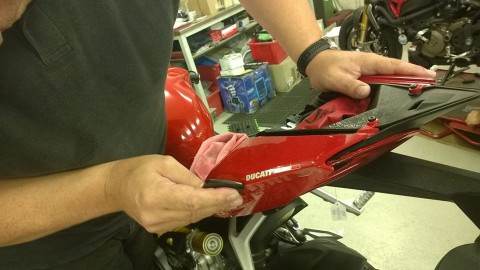
The excess paint protection film is removed to leave just the necessary panel pieces on the backing sheet. This is a process called ‘weeding’ and is a popular term among signwriters and those who regularly cut vinyl.

Once the core panel pieces are left they can be applied to the car, providing of course, that the car itself has been prepared properly for paint protection film installation. We have written a Car Detailing Preparation blog which you should check out too, to better understand what is required to prepare a car for installation. One of the big issues that installers face when applying the film or vinyl to a painted surface, is any silicone residue or particles. A degreaser is used to remove this, ensuring that the body panel surfaces are clean and smooth with no lumps or bumps that will be visible under the film for its entire life.

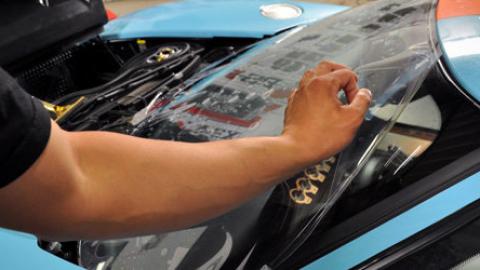
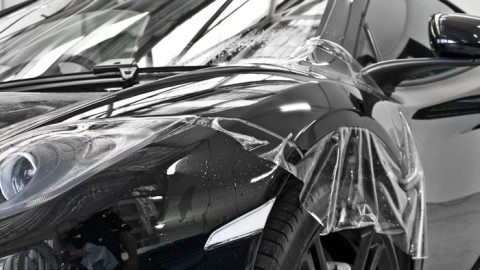
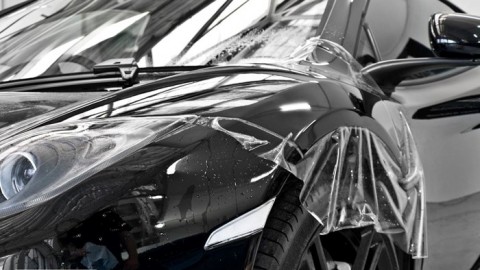
Once the degreaser has been sprayed over the vehicle and it has been prepared for installation and dried, the film solution can be sprayed over the area where the paint protection film will be applied first. This is a store bought solution, that ensures the film is not damaged in any way when it is installed onto the panel. It also allows some slip, so the film can be moved into place before being squeegeed (pressed with a rubber tool to remove all moisture between the adhesive and the paintwork) into a permanent shape and position.
Once the film has been installed on the paint surface, a squeegee is used to remove any air bubbles from underneath it. This will be done by moving from the middle of the film, towards the outside of the film applying a small amount of pressure, just the weight of a hand. Once the film has been fully installed, a heat gun is used to set the ‘memory’ of the film. All protection films have a memory, which means unless it is heated and set again after it has been installed, it will try to return to its original shape, causing possible lifting and peeling from the body panels.

A professional has a heat gun with a probe on it that indicates the exact temperature that must be achieved in order to set the new shape to the paint protection film.

After that, it’s done! The vehicle should be left for 24 hours ideally before going back out on the road, just ensure the film remains in place and has time to settle. You may want to clean the vehicle afterwards to remove any residue or hand marks that appear during the whole process, remembering that the film can be treated like any painted surface.
You now have a paint protected vehicle with a virtually invisible protective layer between the elements and your valuable paintwork.


The smallest of chips or cracks in your windscreen can escalate into something much larger, causing a safety concern...
Paint Protection products are always a topic of debate. Today we will put 3M VentureShield, Xpel and Suntek head...
A motorbike is wrapped with paint protection film in exactly the same way as you would on any other...
Car paint protection Kits are big business in the automotive aftermarket industry, with a huge amount of quality cars, and even...
Use our guide on how to install paint protection film At 3Dom Wraps, we stock a whole range of...
With this quality and popularity come some risks though. That’s not to say that paint protection films are bad,...
 Luxury Fitted Car Mats £229.99
 Audi A3 Xpel PPF Kits £50.00 – £135.00
 Honda CRF 1000L Africa Twin Xpel Paint Protection £50.00 – £105.00
 Honda CBR 1000 RR Fireblade 2015 Xpel PPF Film £50.00 – £105.00
 Ducati Multistrada 1200 2015 Xpel Paint Protection Film Kit £50.00 – £105.00


Development Office, Unit 211 East London Works, London, E1 1DU

© 2017 3Dom Wraps | Terms & Conditions | Privacy
Created with love @  Uptime @ Host Crucial


